
Telnyx allows businesses to send and receive SMS messages. It’s commonly used for sending SMS messages like reminders, alerts, and notifications. By integrating Telnyx with NeetoCal, you can send SMS notifications and reminders to your clients. This helps you in:
reducing no-shows.
maintaining consistent branding using your own number.
Prerequisites
Before connecting Telnyx with NeetoCal, make sure you have:
An active Telnyx account.
A Telnyx phone number capable of sending SMS.
A Messaging Profile using API V2.
A Telnyx API Key (V2).
If you don’t already have a Telnyx account, refer to Telnyx’s official help documentation to create an account. Once your account at Telnyx has been created please follow the three steps mentioned below.
Step 1: Create a messaging profile in Telnyx
Log in to your Telnyx portal.
Click Real-Time Communications > Messaging from the left-hand navigation menu.
Click on Create profile.
Enter a name for your Messaging Profile.
For "API Version" select "API V2". NeetoCal doesn't support "API V1".
Select "all destinations". Some folks select "North America" and "Europe" to get started with.
You can leave "Webhook URL" and "Webhook Failover URL" empty.
In the "outbound settings" check "Restrict to mobile numbers only" and "Enable daily spend limit per connection". You can set "daily spend limit" as per your wishes. Most of the folks start with $20.
Click Save to create the profile.
Click on Real-Time Communications > Messaging and you should see a list of "messasing profiles".
Click on "Edit" icon and you will see "Profile ID" for this messaging profile.
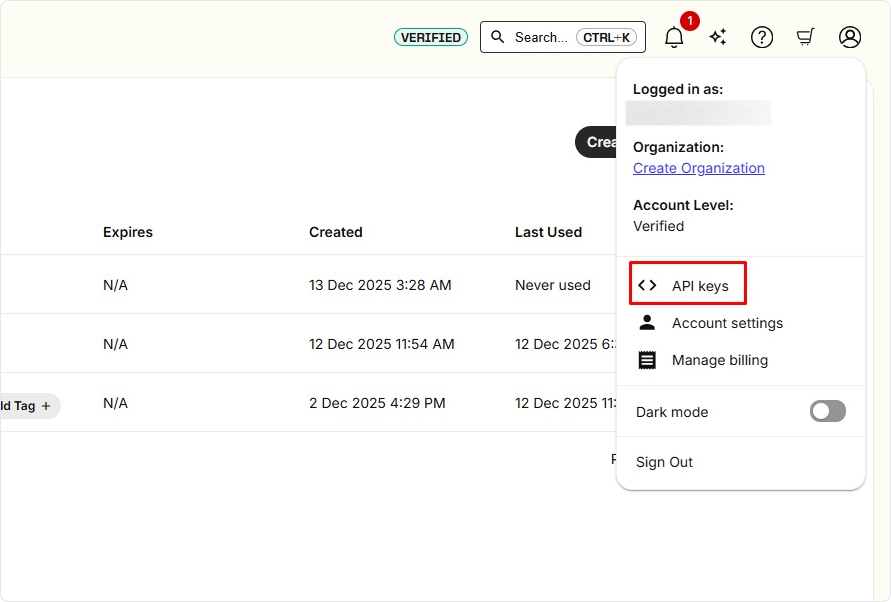
Step 2: Generate a Telnyx API key (V2)
Click your profile icon in the top-right corner of the Telnyx application.
Select API keys.
Click on Create API keys.
You can add a Tag (optional).
Set the Expiration to No Expiration (recommended).
Click Create.
Copy the API key immediately and store it securely. You won’t be able to view the API key again. If you lose it, you’ll need to generate a new one.
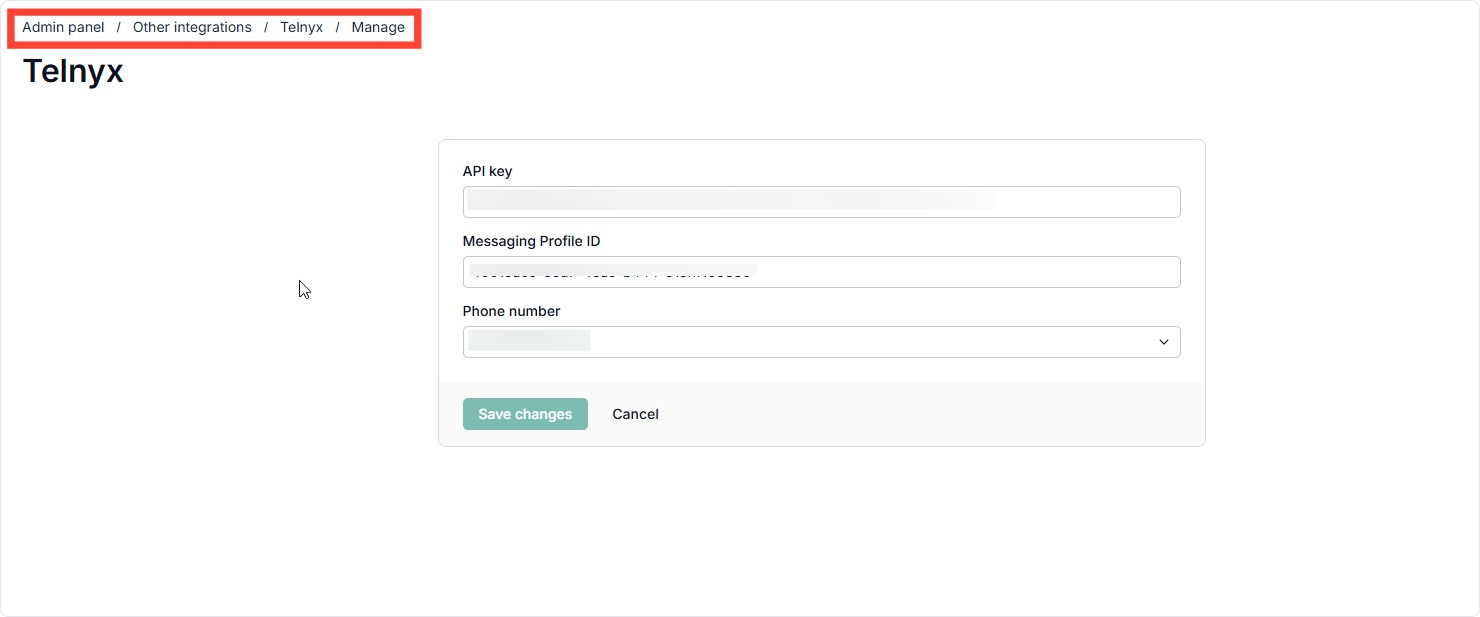
Step 3: Integrating Telnyx with NeetoCal
Go to Admin Panel in NeetoCal.
Click on Other Integrations.
Click on the Telnyx card.
Click on Connect Telnyx.
-
Paste the following details:
API Key (V2)
Messaging Profile ID
Select the phone number you assigned to the messaging profile.
Click on Verify.
-
Once verified, Telnyx will be successfully connected to NeetoCal.
Step 4: Control which SMS are sent
Once Telnyx is connected, NeetoCal sends booking SMS (confirmation, reschedule, cancellation, approval, and rejection messages) automatically. All SMS types are on by default. To turn any of them off, go to Admin panel > Global notifications and open the SMS tab. A single scheduling link can use different settings through its Override global notifications setting.
Reminder SMS work differently: they are only sent on scheduling links where SMS reminders are set up.
For clients: see SMS reminders for client
For hosts: see SMS reminders for host
Need help
If you face issues connecting Telnyx with NeetoCal, contact us at [email protected]
For problems related to Telnyx account setup, purchasing a number, or retrieving API keys or or encounter errors regarding API V2/Profile ID retrieval, please reach out to Telnyx Support team.