

Twilio lets businesses send SMS messages from their own phone numbers, typically reminders, alerts, and notifications. Connect Twilio to NeetoCal to send SMS confirmations and reminders to your customers. This helps you,
reduce no-shows.
send messages from your own business number.
Should I choose Phone Number or Messaging Service?
NeetoCal sends SMS through Twilio in two ways.
Pick Phone number if all your customers are in the same country as your Twilio number. NeetoCal sends every message from that one number.
Pick Messaging Service if your customers are from multiple countries. You add a Twilio number for each region you send to, and Twilio selects the appropriate number for each message. Some carriers block SMS messages sent from foreign numbers, so this is the safest way to cover multiple regions.
If you're not sure, start with a phone number. You can switch to a Messaging Service later.
Set up Twilio account
Once you create an account, follow the steps below:
(Go to step 7 if you have a ready to use project in Twilio).
Visit Twilio console and create a new project.
You will be asked to provide your phone number for a 2FA verification.
Once the verification is complete, you will be greeted by a welcome page.
-
Fill out the form (example in the picture below) and click the Get Started with Twilio button.

You will be directed to the console page.
-
Click on Messaging > Try it out > Send an SMS
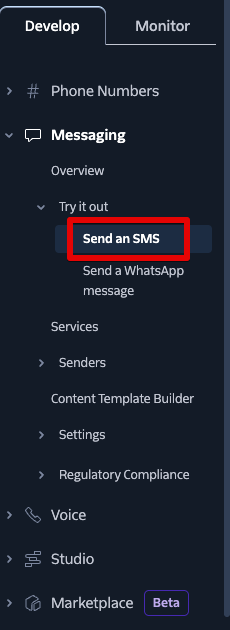
Send an SMS screen -
You will be asked to get a US toll-free number. (If you plan to use a Messaging Service, you can add more numbers for other regions later in Phone Numbers > Manage > Buy a number)
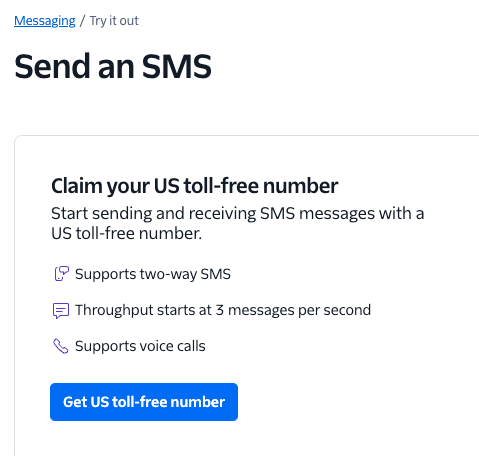
Get a toll free number -
Now click on Account Dashboard from the top left corner.
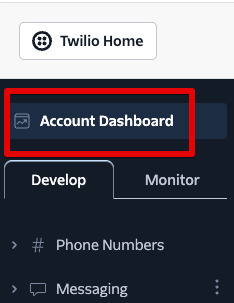
Now, you will see the Account SID and Auth Token. These values will be required to integrate your Twilio account in NeetoCal.

If you are only sending messages within the same country as your Twilio number, you can skip below step.
Create a Messaging Service in Twilio (optional)
These steps go on top of the Twilio setup above, you'll still need at least one phone number and the Account SID / Auth Token from steps 1 - 9. Skip this section if you're using a single phone number.
In the Twilio console, go to Messaging > Services.
Click Create Messaging Service.
Name the service (e.g., "NeetoCal SMS"), choose Notify my users as the use case, and click Create Messaging Service.
On the Add senders step, click Add Senders, choose Phone Number, and pick the numbers you want to use. Add one number per region you send to.
-
Step through the remaining screens and click Complete Messaging Service Setup. Skip the opt-out and integration steps.
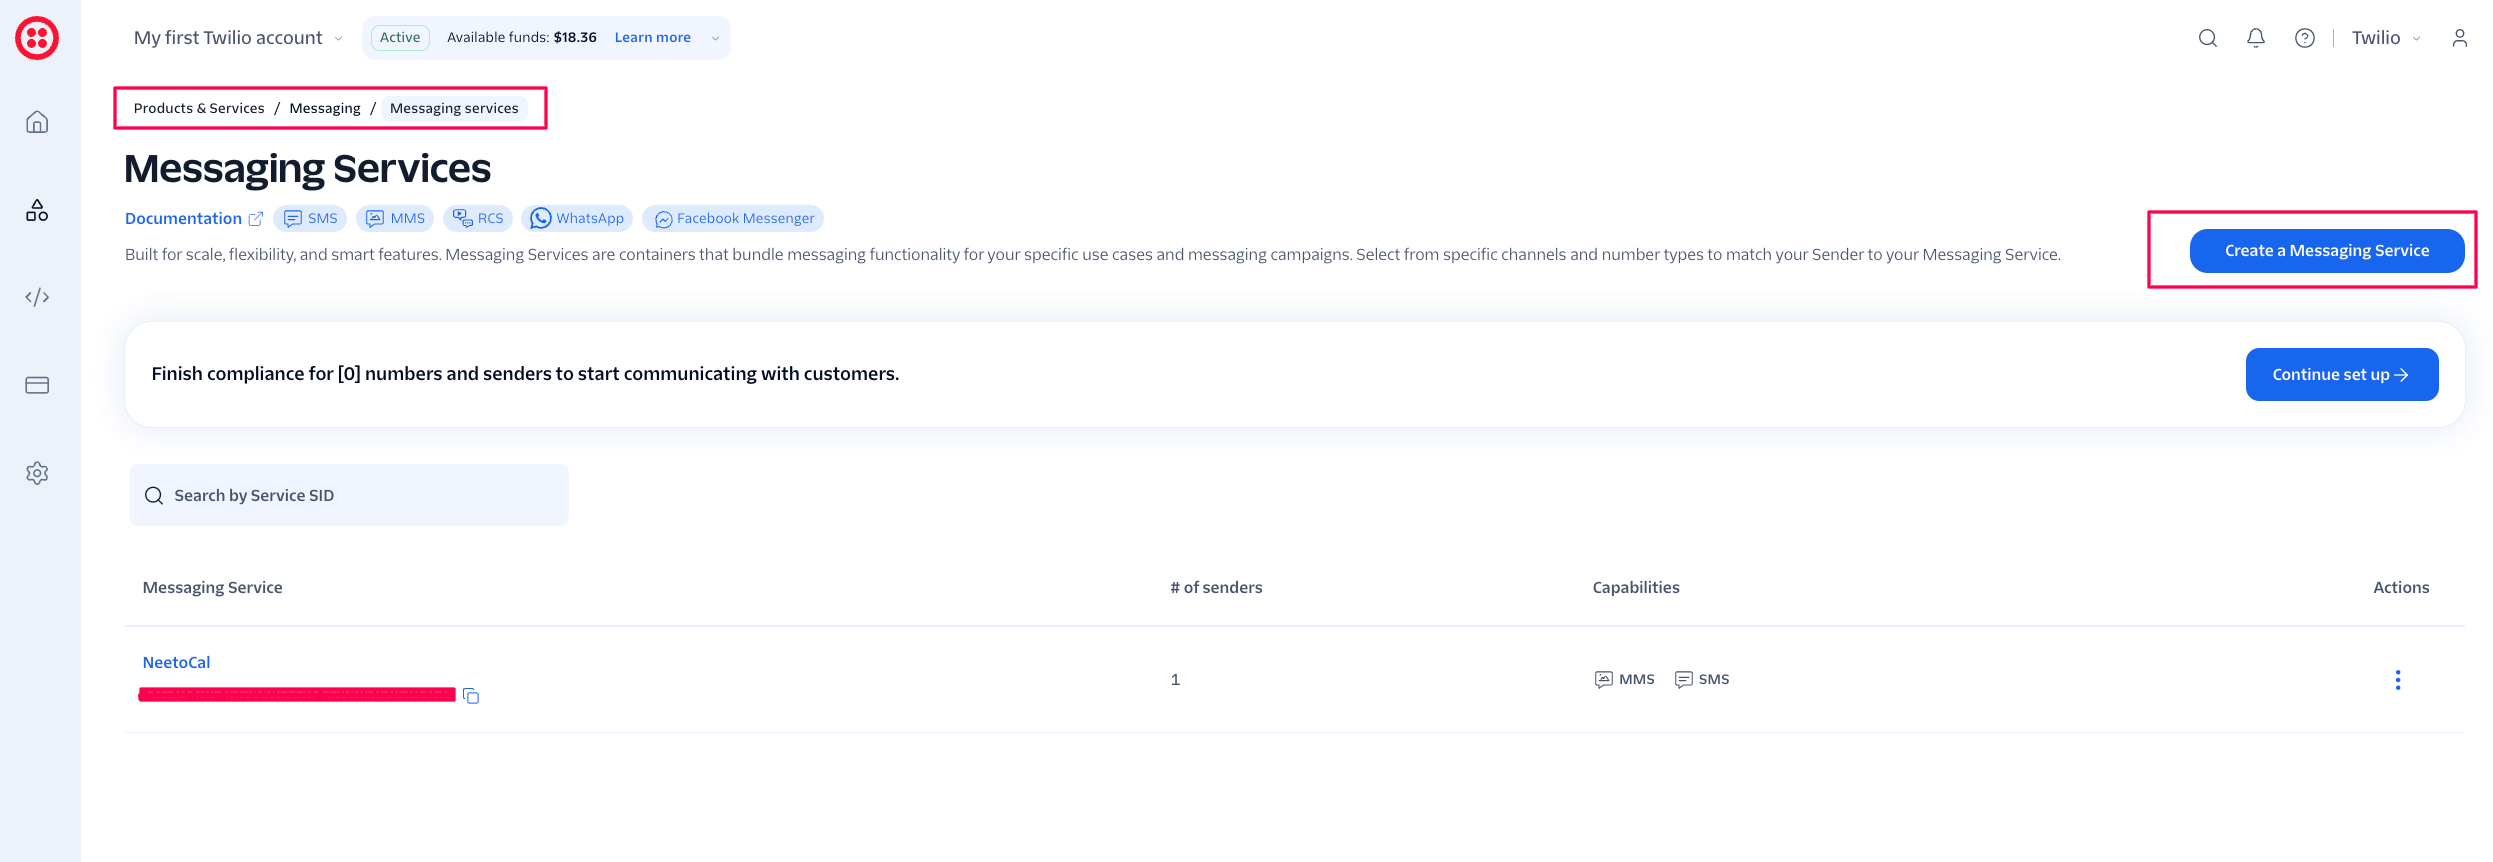
See Twilio's sender selection docs for how Twilio picks the sender for each message.
Connecting Twilio to NeetoCal
Go to Admin Panel > Twilio
Click on Connect Twilio.
Copy your Twilio SID and Auth token from your Twilio account and paste the values one by one on NeetoCal.
Click on the Verify button to verify the values.
-
Once the values are verified, pick what NeetoCal uses to send SMS:
Phone number — choose a number from your Twilio account.
Messaging service — choose a Messaging Service from your Twilio account.
-
Click Save changes.
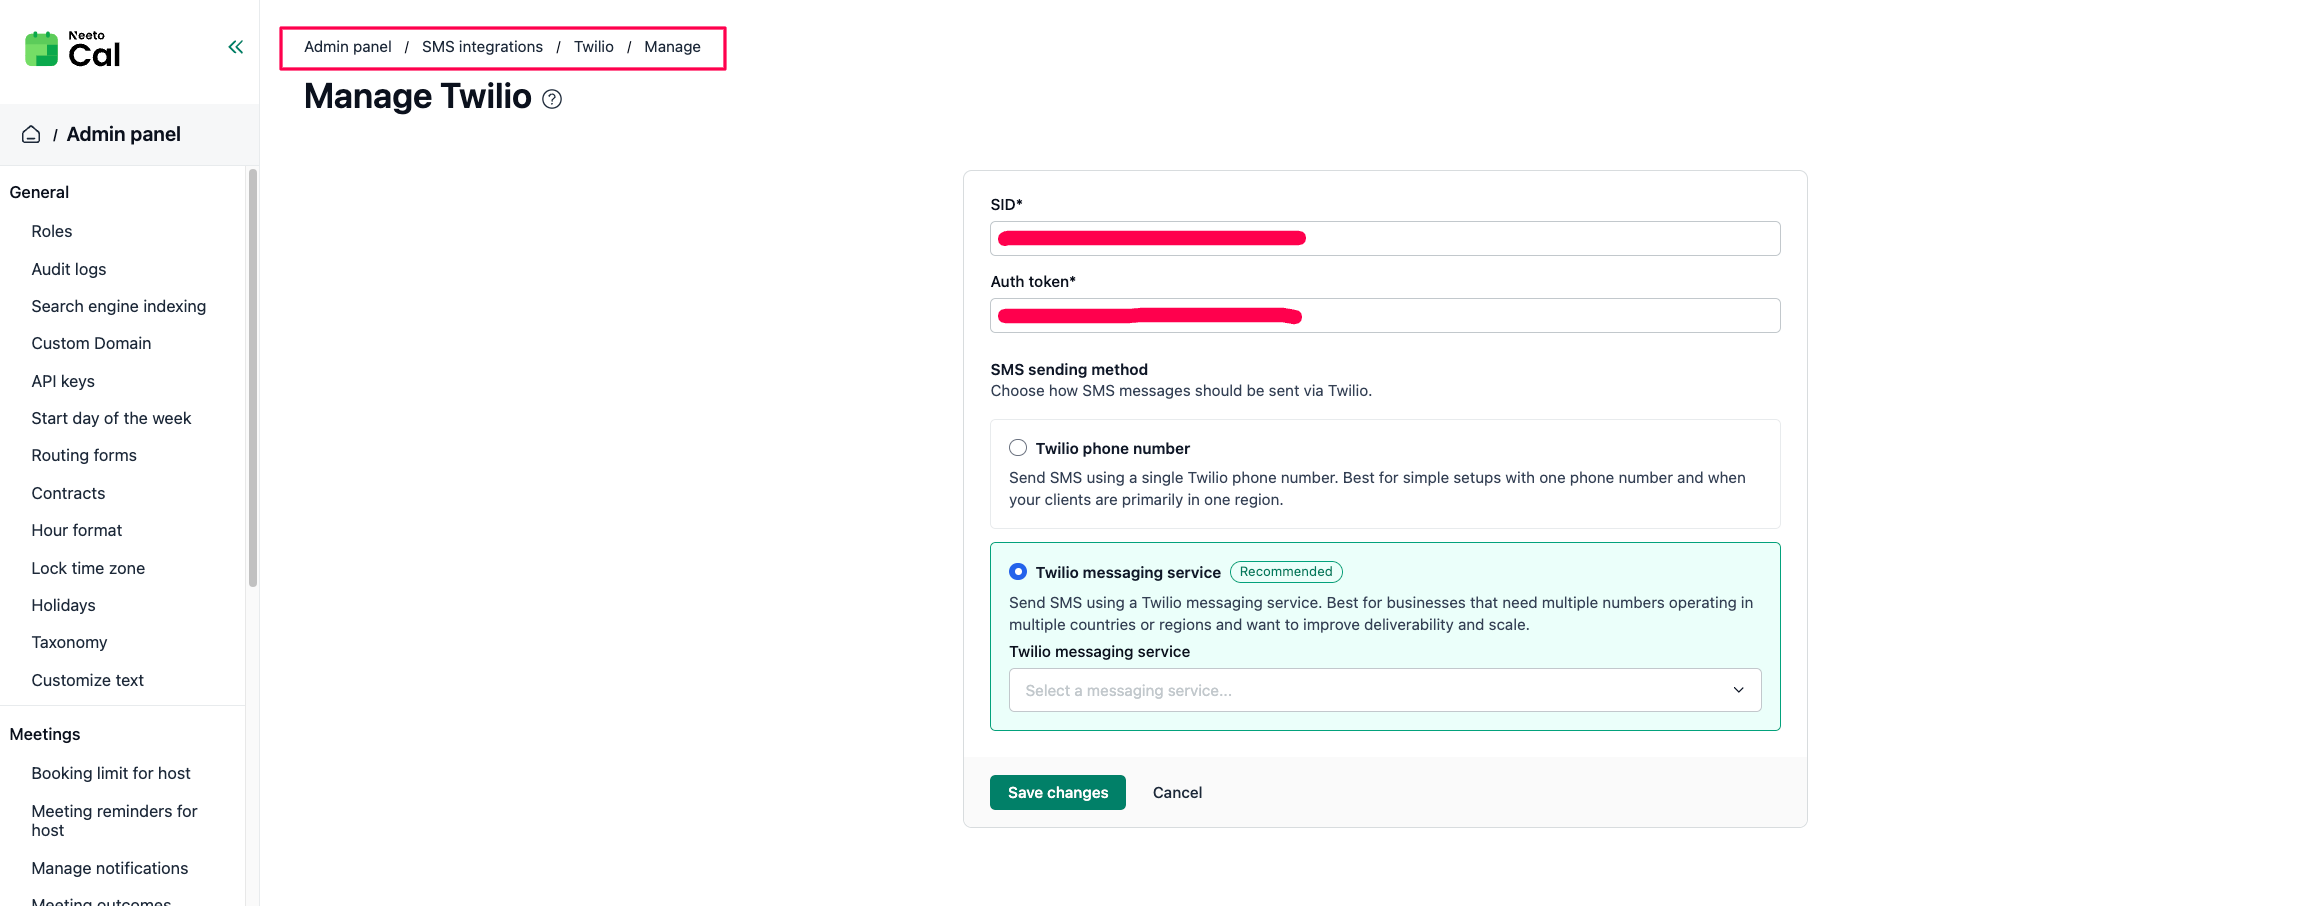
Now, you have successfully integrated Twilio with NeetoCal.
If Twilio asks you to provide a sample message for booking confirmation and a reminder message, please provide and set up these sample messages.
Booking confirmation message
Hi {client.name} , your appointment with {who} is scheduled at {client.starts_at} . We look forward to seeing you!
Reminder message
This is a reminder about your meeting with {who} at {client.starts_at}. Meeting details are at {booking_url}.
Controlling which SMS are sent
Once Twilio is connected, NeetoCal sends booking SMS (confirmation, reschedule, cancellation, approval, and rejection messages) automatically. All SMS types are on by default. To turn any of them off, go to Admin panel > Global notifications and open the SMS tab. A single scheduling link can use different settings through its Override global notifications setting.
Reminder SMS works differently: they are only sent on scheduling links where SMS reminders are set up.
For clients: see SMS reminders for client
For host: see SMS reminders for host