While the Admin Panel controls default email templates, you can still customize email notifications for a specific scheduling link. This is helpful if one particular link needs different wording or additional information. To do that:
Visit your scheduling link.
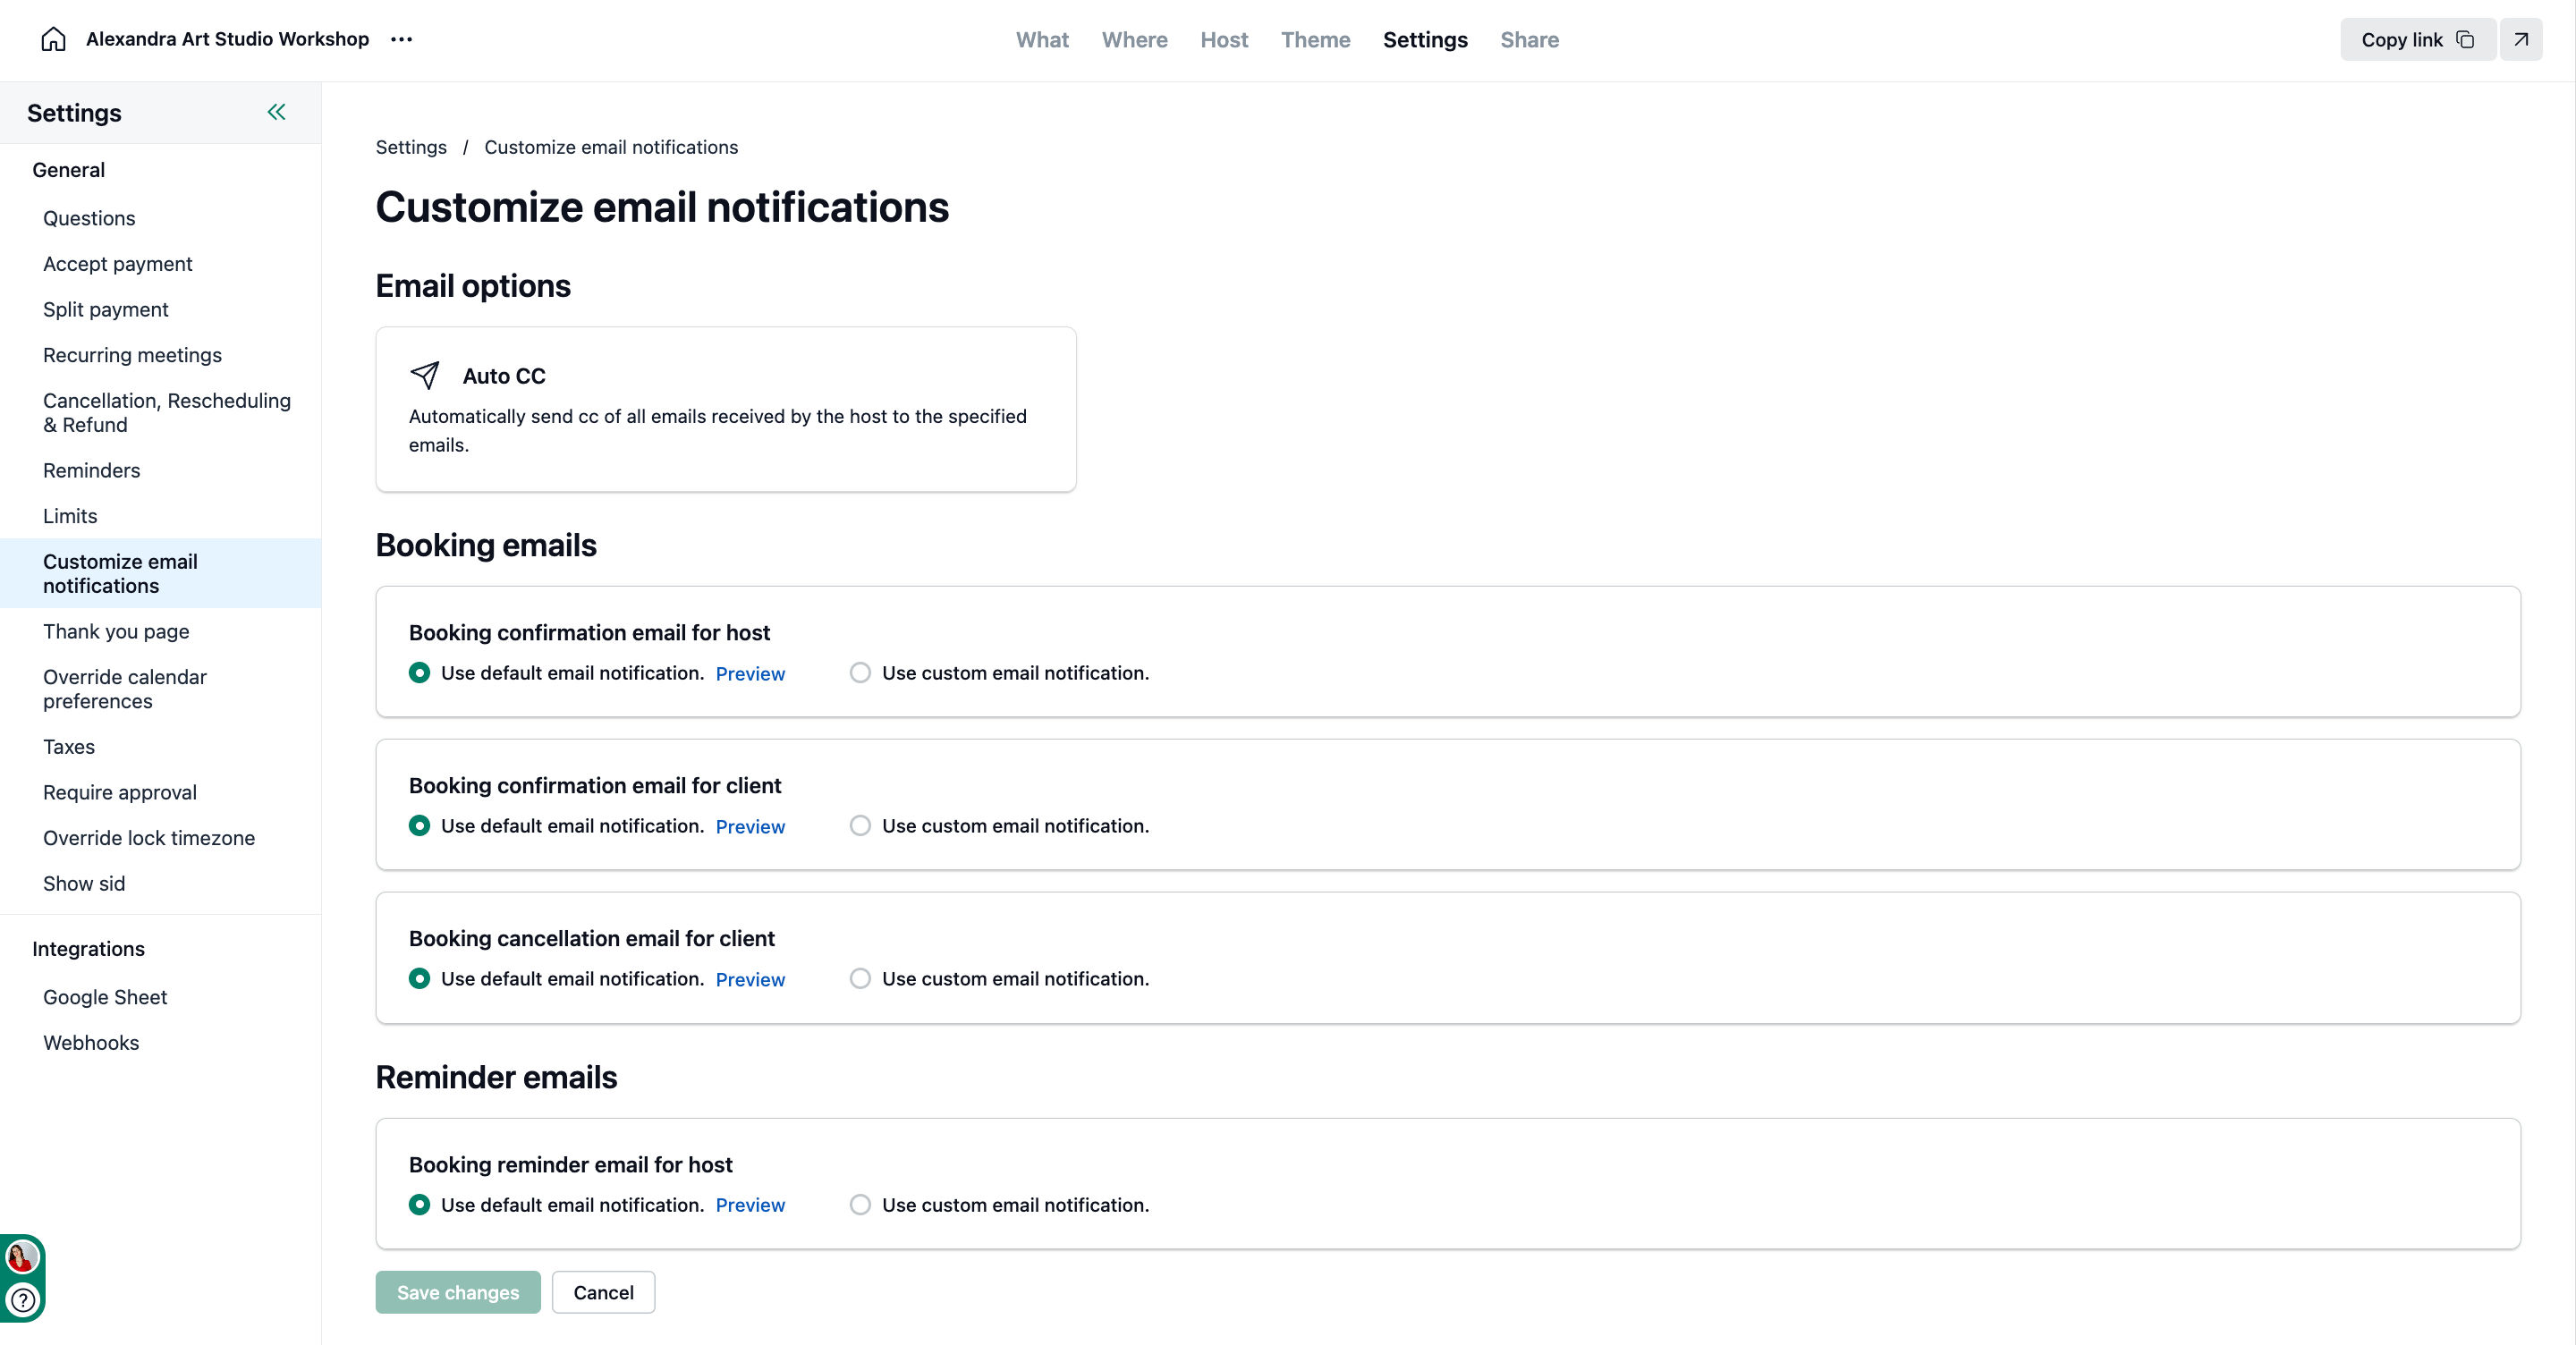
Click on the Settings tab.
Select the Customize email notifications card.
You can select the type of confirmation email from the Booking emails section.
Booking confirmation email for the host
This is the confirmation email that the host receives after a booking is made. You can modify the subject and body of the email. You can also add other email addresses as CC. These emails will also receive the confirmation email when a booking is made.
Booking confirmation email for the client
This is the confirmation email that the client receives when a booking is made. You can modify the subject and body of this email.
Booking cancellation email for the client
This is the confirmation email that the client receives when a booking is cancelled by the host. You can modify the subject and body of this email.
Booking reminder email for the host
This is the reminder email that the host receives before the meeting starts. You can modify the subject and body of this email.
You can use dynamic variables to add more information to the email.
Choose between default or custom
By default, the link will Use default notifications (from the Admin Panel).
To customize notifications, select Use custom notifications.
Once you click to custom, the panel will display the default email template provided by NeetoCal.
You can now make edits to content of the email as per your need.
Client reminder email customization remains under the Reminders section and is not duplicated here. To know more about client reminder email, refer to this article.
After saving, the customized template will be stored only for this scheduling link.
-
Switching back
-
If you no longer want a custom version, you can reset to Use default notifications, which restores the Admin Panel template.
-